Sharpening chisels and plane irons
Sharpening is simpler than the arguments about it suggest. Two flat surfaces meeting at a clean, polished edge is all you are aiming for.
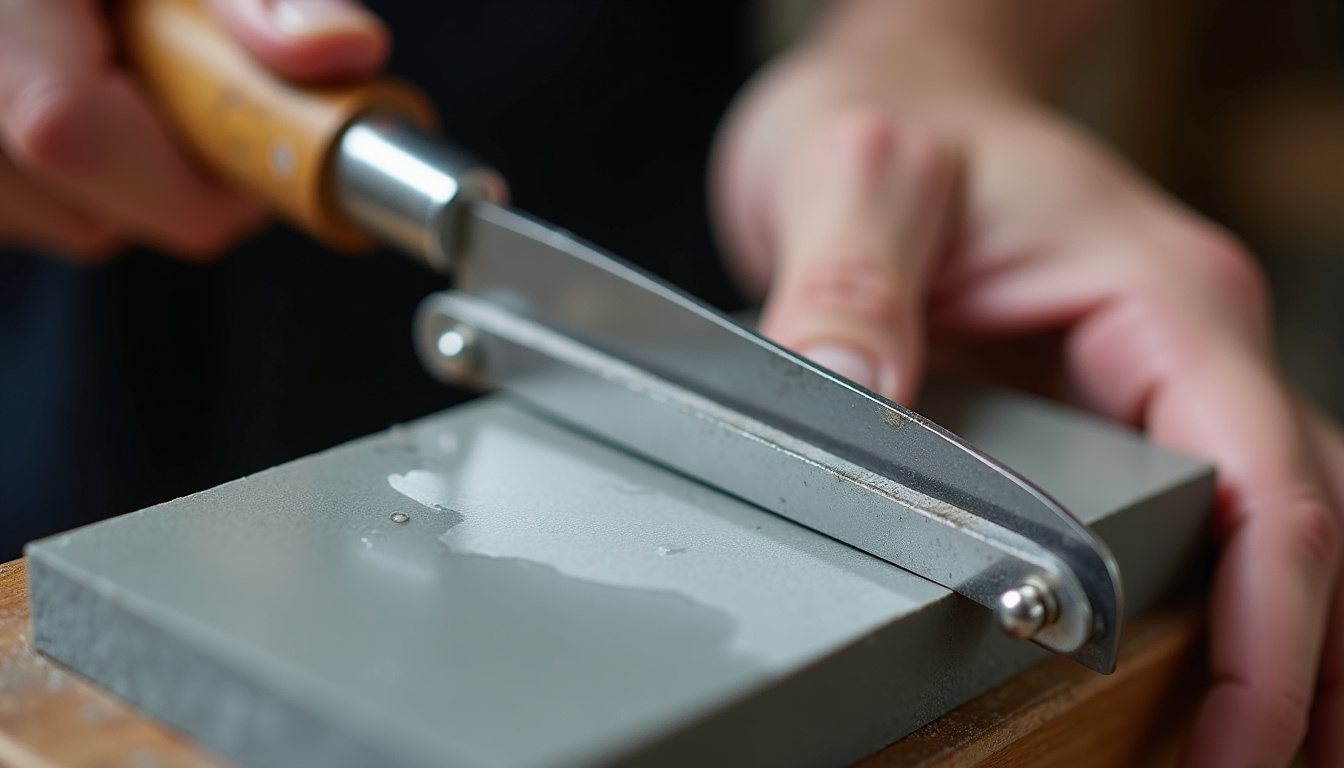
Every edge tool arrives needing work, and every edge goes dull with use. Sharpening is therefore not an occasional chore but part of using hand tools at all. The good news is that a reliable method takes an afternoon to learn and a couple of minutes to repeat.
What "sharp" actually means
A sharp edge is the line where two surfaces meet, the back and the bevel, with both polished and with no rounding, chips or burr. Sharpening removes steel from one or both surfaces until they meet cleanly again, then polishes them so the edge is fine and durable. Everything else is detail.
Equipment
| System | Pros | Cons |
|---|---|---|
| Water stones | Cut fast, give a fine polish | Wear hollow and need regular flattening; messy |
| Oil stones | Durable, slow wearing, traditional | Slower cutting; oily residue |
| Diamond plates | Stay flat, cut fast, can flatten water stones | Higher initial cost; finest grits are less common |
| Abrasive paper on glass or a flat plate | Cheap to start, easy to try | Ongoing cost of paper; can round edges if paper lifts |
For most people, a coarse stone or plate (around 300 to 400 grit), a medium one (around 1000) and a fine one (around 4000 to 8000) is enough. Add a strop with polishing compound if you like a very fine finish. Grit numbers vary between systems and manufacturers, so treat these as approximate.
A honing guide holds the blade at a fixed angle as you push it along the stone. Choose one that holds both chisels and plane irons securely.
Step one: flatten the back
This is done once, when the tool is new to you, and almost never again. Only the first 20 to 30 mm behind the edge matters.
- Lay the back of the blade flat on the coarse stone, with the edge end on the stone and your fingers pressing near the edge.
- Rub back and forth or in circles, keeping it flat. Do not lift the handle end.
- Check the scratch pattern. When it reaches right to the edge and across its full width, move to the next grit.
- Repeat through the grits until the back near the edge is polished.
A new chisel with a badly out-of-flat back can take a while. A shortcut used by many woodworkers for plane irons is the "ruler trick": placing a thin steel rule along the far edge of the fine stone and honing a tiny back bevel. It saves time on a plane iron but is not suitable for chisels, whose backs need to be truly flat for paring.
Step two: grind or establish the primary bevel
The primary bevel sets the basic edge angle. Around 25 degrees suits most bench chisels and bevel-down plane irons. Set the blade in the honing guide at that angle, using a jig or a measured projection from the guide as its instructions explain, and work on the coarse stone until the bevel is flat, the full width of the edge has been reached, and a small burr can be felt on the back.
A burr, sometimes called a wire edge, is a thin flap of steel pushed over to the back. Feel for it by drawing a fingertip gently off the back of the blade, never along the edge. It tells you that the two surfaces have met.
Step three: hone a secondary bevel
Re-set the guide to raise the angle by a few degrees, to around 30 degrees, and work on the medium and then fine stone. Only a narrow strip at the edge is touched. This microbevel is quick to create and quick to restore, which is why most people use it: on later sharpenings you only need to hone this small area until it gets wide, and only occasionally return to the coarse stone.
Finish each stone with a few strokes on the back, held flat, to remove the burr. On the finest stone, alternate a few light strokes on the bevel with a few on the back until the burr comes away.
Angles for different tools
| Tool | Typical primary bevel | Typical honed angle |
|---|---|---|
| Bench chisel, general use | 25° | About 30° |
| Paring chisel, hand pressure only | 20 to 25° | About 25° |
| Mortise chisel, heavy mallet work | About 30° | About 35° |
| Bench plane iron, bevel down | 25° | About 30° |
| Block or bevel-up plane iron | 25° | Varies; the effective angle is the bed angle plus the bevel |
These are starting points, not rules. If an edge chips quickly, increase the honed angle a little. If it feels hard to push, it may be possible to go lower.
Plane irons: straight or cambered
A smoothing plane iron is often given a very slight curve across its width, called camber, by pressing harder on each corner in turn during honing. This stops the corners leaving tracks on a wide surface. A block plane or a plane for jointing edges can stay straight. Keep the camber small; it is a fraction of a millimetre at each corner.
Common problems
- Rounded bevel. Usually caused by rocking the blade freehand. A honing guide, or a slower, more deliberate stroke, solves it.
- Edge out of square. Uneven pressure across the width. Check with a square after the coarse stone and correct before moving on.
- Burr that will not come off. Too much pressure on the fine stone. Use lighter strokes, alternate sides, and finish with a few passes on a strop.
How to tell it is sharp
- Look at the edge under a bright light, pointing straight at you. A sharp edge reflects no light. Bright spots are dull or rounded areas.
- Pare end grain. A sharp chisel will slice a thin, clean shaving off softwood end grain with hand pressure alone. A dull one crushes fibres.
- Plane a test board. A sharp iron leaves a polished surface and takes thin, continuous shavings.
Avoid testing on skin or hair. It tells you little and it is an easy way to cut yourself.
Looking after the stones and the edge
Flatten water stones regularly on a coarse diamond plate or abrasive on glass, as a dished stone will produce a rounded edge. Store edges so they do not touch other steel, as covered in our storage guide, and wipe tools dry after water stones to prevent rust; our tool care guide explains more. A sharp tool is also a safer one, for the reasons set out in our safety guide.