Screws, nails and fixings explained
Choosing the right fixing is half the job. The wrong screw or plug is behind most shelves that sag, hinges that pull out and garden projects that stain.
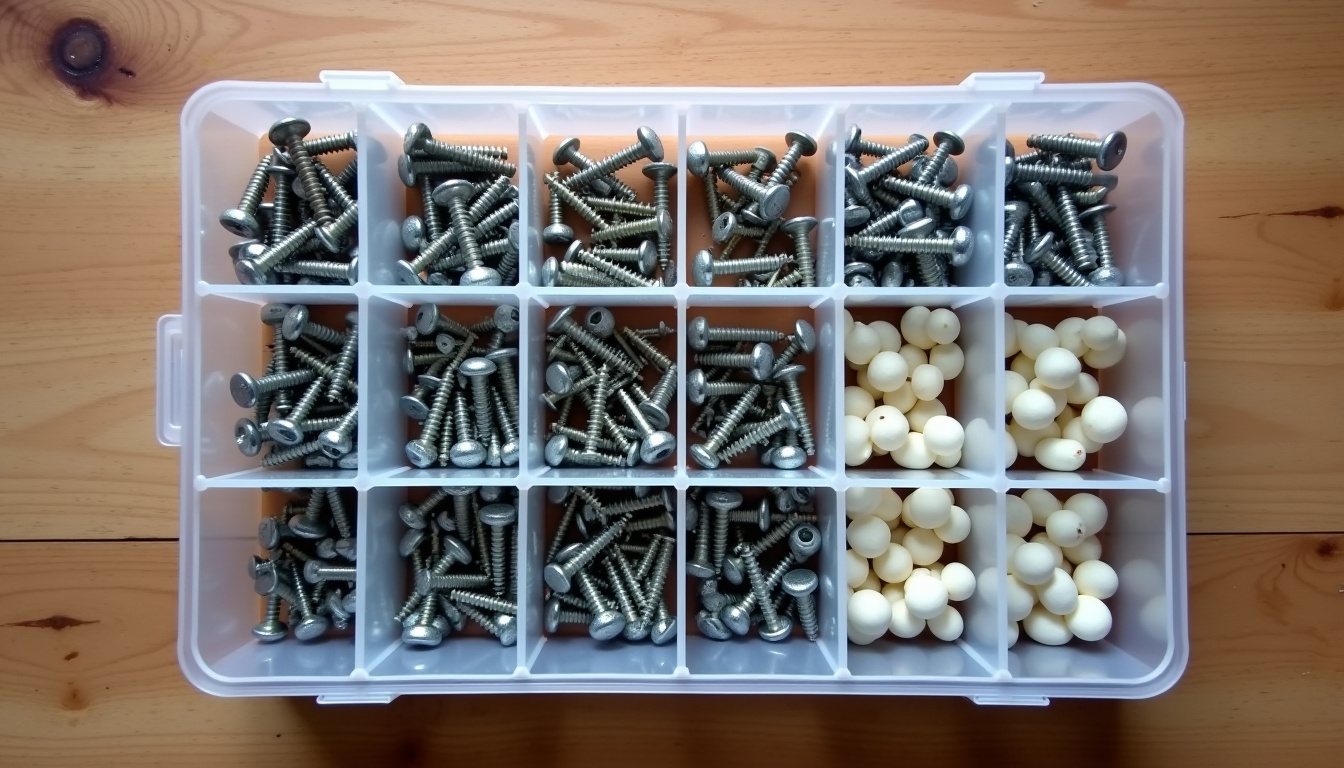
A trip to buy screws can be bewildering: dozens of lengths, several head types, different coatings and a whole aisle of wall plugs. In practice a small range covers most home workshop jobs. This guide explains what the labels mean and how to pick the right one.
Wood screws
Sizes
Screws in the UK are now usually sold in metric sizes written as diameter by length, for example 4.0 x 40 mm. Older plans and some imperial products use gauge numbers and inches, such as "No. 8 x 1½ inch". As a rough guide, No. 6 is about 3.5 mm, No. 8 about 4 mm and No. 10 about 5 mm. A useful rule for joining two pieces of timber is that the screw should be long enough for at least half its length, and ideally around two thirds, to go into the second piece.
Drive types
- Pozidriv (PZ). The most common drive on UK wood screws. Sizes PZ1, PZ2 and PZ3, with PZ2 fitting most general screws.
- Phillips (PH). Looks similar but has no extra marks, and the driver tends to cam out of the head under high torque. Common on electrical and imported fixings.
- Torx (TX or T). A six-lobed star that grips very well and resists stripping. Increasingly common on construction and decking screws.
- Slotted. Traditional, decorative, and difficult to drive with power tools.
Using the right bit in the right screw makes more difference to driving than the drill itself. Worn bits are the main cause of stripped heads.
Head shapes
- Countersunk. Sits flush with the surface. Most modern screws have nibs under the head that cut their own countersink in softwood; in hardwood, countersink first.
- Pan or round head. Sits on the surface, used for fixing metal brackets and fittings.
- Washer head or wafer head. A wide, flat head that clamps without sinking, used for fixing sheet material to framing.
Pilot and clearance holes
For a joint that pulls tight, drill a clearance hole through the top piece the same size as the screw's shank, so the threads do not grip it. Then drill a smaller pilot hole into the lower piece. A pilot hole is roughly the diameter of the screw's core, without the threads. In hardwood, and near the ends of boards in any timber, pilot holes prevent splitting. Many modern screws have a sharp point and cutting thread that reduce the need for pilots in softwood, but they still help near edges.
Nails
| Type | Use |
|---|---|
| Round wire nail | General carpentry and rough framing where the head can show |
| Oval wire nail | Joinery; less likely to split timber if driven with the long axis along the grain, and the head can be punched below the surface |
| Lost-head nail | Flooring and trim where the head is punched in and filled |
| Panel pin | Thin sheet material, beading, small mouldings |
| Clout nail | Large flat head for roofing felt and sheet materials |
| Annular ring-shank nail | Rings along the shank give much greater grip, used for floor and sheathing panels |
| Masonry nail | Hardened for fixing battens to soft masonry; wear eye protection as they can shatter |
Nails hold well against sideways forces but can pull out under a direct load. Screws resist pulling out far better and can be removed, which makes them more forgiving for beginners. Nails are faster and suit work that needs a little flexibility, such as fencing.
Fixing into walls
The wall material decides the fixing. Find out what you are dealing with first: tap it, drill a small test hole and look at the dust (red or grey dust means brick or block, white means plaster or plasterboard).
Solid masonry
Use plastic wall plugs sized to the screw. Packaging gives the drill size and screw range; follow it, as colour codes are not consistent between manufacturers. The plug should sit just below the surface of the plaster, not in it, and the screw must be long enough to pass through the fixture and the full length of the plug. For heavy loads use frame fixings or masonry screws designed to cut their own thread.
Plasterboard
Plasterboard alone does not hold much weight. For light items use self-drilling plasterboard fixings. For medium loads use spring or gravity toggles, or metal cavity anchors that expand behind the board. For heavy loads such as wall cabinets or a cleat wall full of tools, fix into the timber or metal studs behind the board, or fit a timber noggin between studs.
Hidden services
Before drilling any wall, think about pipes and cables. Cables are often run vertically or horizontally from switches and sockets, but not always. A detector helps but is not foolproof. Avoid drilling directly above, below or beside sockets and switches.
Outdoor and treated timber
Bright zinc-plated screws rust outdoors, sometimes within a season. Use screws and nails described as suitable for exterior use: stainless steel, or carbon steel with a durable protective coating. Check that the fixings are compatible with treated timber, as the preservatives in some pressure-treated timber can corrode unsuitable fasteners. Oak, cedar and sweet chestnut are rich in tannins that react with iron and leave black stains; stainless steel avoids this.
Bolts and heavy fixings
For structural connections in outdoor builds, such as a pergola or a raised deck frame, use coach screws or bolts with large washers, sized to the load. Structural work that affects safety, such as anything attached to a house or supporting people, should follow manufacturer guidance or the advice of a competent builder or engineer.
A starter fixings kit
- Wood screws, PZ2 countersunk: 4.0 x 30, 4.0 x 40, 4.0 x 50, 5.0 x 70 mm.
- Panel pins and oval nails in a few lengths.
- General-purpose wall plugs and matching masonry drill bits.
- A few packs of plasterboard fixings for light and medium loads.
- A small stock of exterior-grade screws for garden projects.
Store them in labelled compartments as described in our storage guide. Our power tools guide covers drivers and bits, and the hand tools guide lists the screwdrivers worth owning.