Workbench design and height
A good bench is heavy, flat, rigid and the right height for you. The design choices that follow from those four things matter more than any style.
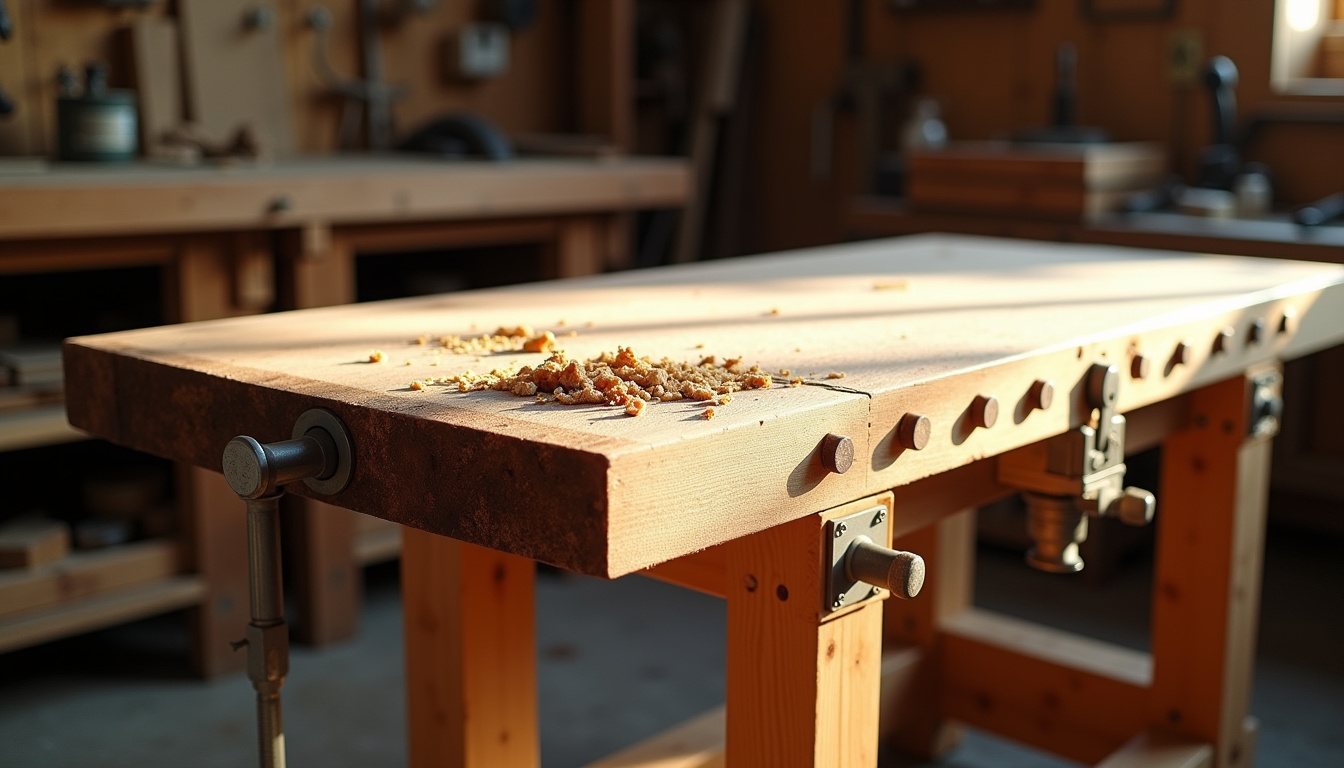
The workbench is the one piece of equipment you use for every job. It holds work for sawing, planing and assembly, it is your reference surface for checking flatness and square, and it is where tools land between operations. A wobbly or badly sized bench makes every one of those jobs harder.
The four things a bench must do
- Stay still. A bench that walks across the floor when you plane or saw wastes energy and spoils accuracy. Mass and rigid bracing fix this.
- Stay flat. A flat top lets you check parts, assemble square and plane without the work rocking.
- Hold work. Vices, holdfasts, dogs and clamps need something to grip.
- Suit your body. Height and reach determine whether you work comfortably for three hours or ache after twenty minutes.
Finding your height
Stand in your work shoes with your arms relaxed at your sides. Measure from the floor to the crease of your wrist or the base of your palm. That height is a widely used starting point for a general bench, and for many adults it falls somewhere around 850 to 950 mm.
Adjust from there for the kind of work you do most:
| Main use | Adjustment | Reason |
|---|---|---|
| Hand-planing | A little lower | Lets you use body weight over the plane |
| General DIY and assembly | Around wrist height | A compromise for most tasks |
| Fine work, carving, metal filing | Higher | Brings work closer to the eyes and reduces stooping |
| Power tools on the bench | Consider the tool height too | A mitre saw on a bench raises the cutting height significantly |
If you are unsure, build slightly high. Lowering a bench means cutting the legs once; raising one means adding blocks, which is fine but less tidy. Before committing, put a sheet of plywood on trestles or crates at your chosen height and use it for a weekend.
Size
For a single garage, a bench of about 1.5 to 1.8 m long and 550 to 650 mm deep is common. Deeper than about 700 mm and you cannot reach the back without leaning. Longer is useful for long boards, but only if there is space to walk around it.
A bench against the wall can be screwed to it for stability but you lose access from the back. A freestanding bench lets you work from all sides and clamp anywhere, at the cost of floor space.
The top
Thickness and mass make a top quiet, solid and good at absorbing the shock of mallet work. Common options:
- Laminated construction timber. Planed softwood glued face to face, then flattened. Heavy, cheap and repairable.
- Layers of plywood or MDF. Two or three sheets glued and screwed together. Flat from the start. Add a hardboard sacrificial layer on top that can be replaced when it is scarred.
- Solid-core door. A quick way to a flat, heavy top, though edges are not suitable for vices without reinforcement.
- Hardwood slab. Lovely but expensive and needs dry, stable timber or it will move.
Aim for a finished top at least 40 mm thick for general work, more if you chop joints with a mallet.
Frame and bracing
Most wobble comes from the frame, not the top. Legs of 70 to 100 mm square section, connected by stretchers near the floor, resist racking. A lower shelf loaded with heavy items adds mass where it helps most. Diagonal braces or a plywood back panel stop side-to-side sway on a bench against a wall. If you use bolted joints, check and tighten them after the first few months as the timber settles.
Holding work
Vices
A front vice near the left end (for right-handed users) is the most common arrangement and handles sawing, planing edges and holding parts for chiselling. Fit wooden liners to the jaws so they do not bruise work. A quick-release mechanism is convenient but not essential. An end vice or tail vice, combined with bench dogs, lets you clamp boards flat along the top for planing faces.
Dog holes and holdfasts
A row of round holes, typically 19 or 20 mm, drilled square to the top accepts bench dogs and holdfasts. A holdfast is struck with a mallet to wedge in its hole and pins the work down firmly; a sharp tap on the back releases it. They are among the cheapest and most useful holding methods available.
Clamping edges
Leave an overhang of 50 to 75 mm on the front and ends of the top so F-clamps can grip work to it.
Small workshop variations
- Folding or wall-hinged benches drop down when the car comes in.
- Mobile benches on locking castors are convenient, but castors must lock both wheel and swivel, or the bench will move under load.
- Portable clamping tables are a good temporary solution and remain useful for site work even after you have a proper bench.
- Outfeed and assembly tables at the same height as your bench or saw extend the working surface for long work.
Common mistakes
- Too light. A bench made from thin sections and a single sheet top will slide and bounce however well it is built. Add mass low down.
- Too deep against a wall. Things get lost at the back and you end up leaning over the work.
- Aprons that block clamps. Wide rails directly under the front edge stop clamps reaching the top. Set the front apron back or keep it narrow.
- A vice that sits proud. The top of the vice jaws should be level with or just below the bench top so a plane does not catch on it.
- Drawers under the whole top. Handy for storage, but they get in the way of clamping and holdfasts. Leave at least part of the underside open.
Finishing touches
A couple of coats of a thin oil or wax on the top resists glue and spills without making it slippery. Avoid a thick varnish that can chip and lets work slide about. Add a power strip at the back or under the front edge, a task light, and a shallow tool well or rack so the top stays clear. Our tool storage guide has ideas for what goes on the wall behind the bench, and our hand tool guide lists what to keep within reach.