Measuring and marking accurately
Most joints that do not fit went wrong before a saw touched the wood. Accurate marking is a skill, and it is the cheapest one to improve.
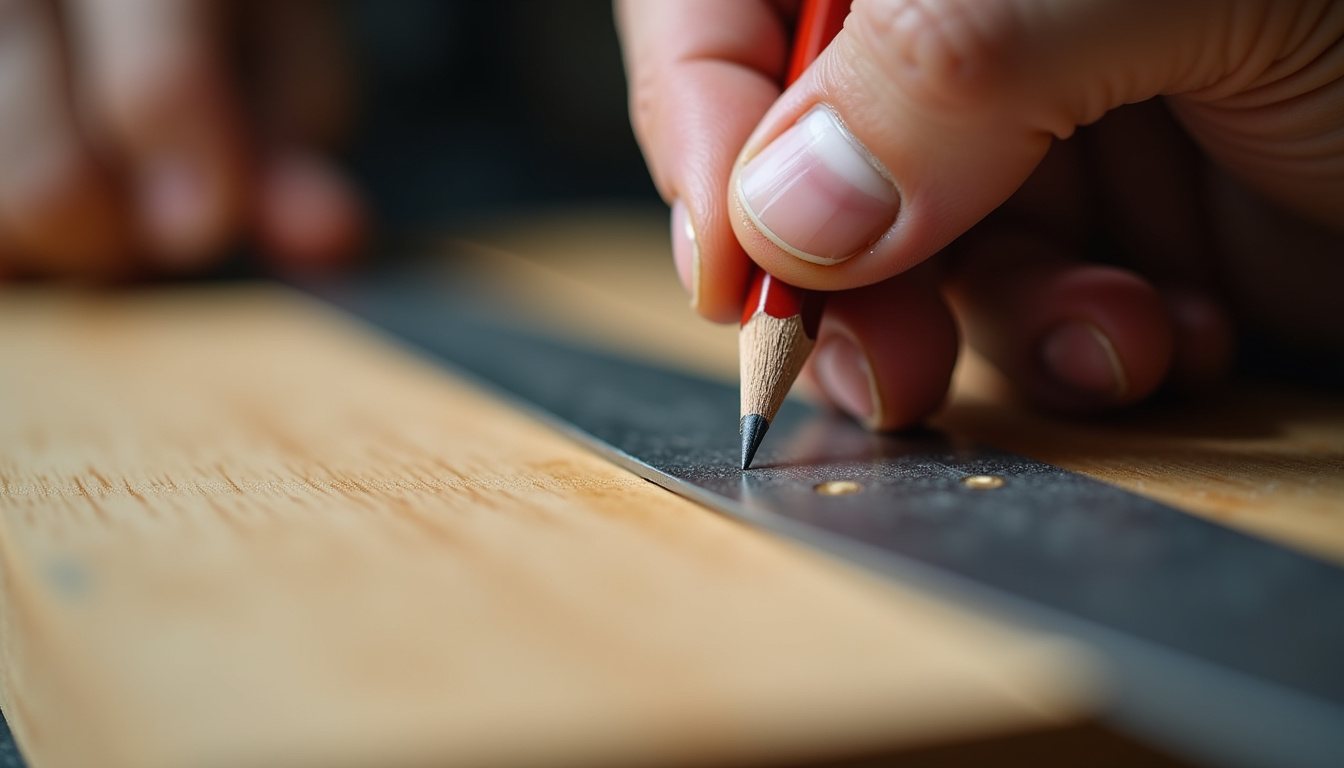
Accuracy in a workshop is less about expensive tools than about a few consistent habits: using the same reference edge, marking with a fine line, measuring as little as possible, and checking your tools before trusting them. This guide covers each.
Pick reference faces and edges
Before marking anything, choose the best, flattest face of each piece and the straightest edge, and mark them with the traditional face and edge marks (a loop on the face running to the edge, and a V or arrow on the edge pointing to the face). Every measurement and every square line is then taken from those surfaces. If you reference from different edges on different parts, small errors in the timber add up and joints will not meet.
Measuring tools and their limits
Tape measure
Tapes are good for rough lengths and room measurements. For precise work, be aware that the hook can be bent, and different tapes can disagree by a millimetre or more over a couple of metres. Use the same tape throughout a project. For greater accuracy over short distances, "burn an inch": measure from the 100 mm mark instead of the hook and subtract 100 at the end, which removes hook error entirely.
Steel rule
A 300 mm or 600 mm steel rule with clear, etched graduations is far more accurate than a tape over short distances. Stand it on edge so the graduations touch the work, which removes parallax error when reading from an angle.
Callipers
Vernier or digital callipers measure thicknesses, hole diameters and depths to a tenth of a millimetre or better. They are useful for checking screw sizes, drill bits and router bit diameters.
Squares and how to check them
A combination square or try square marks and checks right angles. Never assume a square is accurate, even when new. To check one:
- Take a board with a straight, true edge.
- Hold the square's stock against that edge and draw a fine line along the blade.
- Flip the square over, so the stock is against the same edge but facing the other way, and line the blade up with the line you drew.
- If the blade and line are parallel, the square is accurate. If they diverge, the error you see is double the actual error.
Small errors in a cheap combination square can sometimes be corrected; a try square that is out is usually best replaced. Keep squares where they cannot be dropped or bent.
Marking tools
- Pencil. Fine for rough work and carcass marking. Keep it sharp, use a hard lead (2H) for fine lines, and mark which side of the line is waste with a cross.
- Marking knife. Single-bevel knives are held with the flat face against the square, so the line is tight to the blade. Make a light first pass to establish the line, then deepen it.
- Marking gauge. Sets a distance from a reference edge and scribes a parallel line. Wheel gauges cut cleanly across the grain; pin gauges can tear fibres across the grain but are fine along it.
- Mortise gauge. Has two pins or wheels to mark both sides of a mortise or tenon at once.
- Sliding bevel. Holds any angle, transferred from a drawing, protractor or existing work.
Measure less, transfer more
Every time you read a number and write it down, there is a chance to misread it. Wherever possible, transfer dimensions directly:
- Mark from the part itself. To cut a shelf to fit between two sides, hold the shelf in place and mark it, rather than measuring the gap.
- Story sticks. A straight batten with key positions marked on it, such as shelf heights or drawer openings, used to mark every matching part. No numbers involved.
- Stop blocks. Clamp a block to a saw fence or bench so every repeated part is cut to exactly the same length.
- Gauges set once. Set a marking gauge from the actual chisel or board and leave it set until all matching marks are made.
Common sources of error
| Error | Cause | Fix |
|---|---|---|
| Parts consistently a bit short | Cutting on the wrong side of the line | Mark the waste side and cut on it, leaving the line |
| Frames out of square | Square marks taken from different edges | Always reference from the marked face and edge |
| Matching parts different lengths | Measured separately | Clamp parts together and mark them in one go, or use a stop block |
| Mistakes of exactly 10 mm or 100 mm | Misreading the tape | Say the measurement aloud and check it against the plan |
| Joint too loose | Thick pencil line plus saw kerf | Knife lines and paring to the line |
Checking your work
Checking square on an assembled frame or box is easiest with diagonals: measure corner to corner both ways, and if the two measurements match, the frame is square. Adjust a clamp slightly across the long diagonal to pull it in before the glue sets. For flatness, use a straightedge and look for light underneath against a bright background, or use a pair of winding sticks to spot twist along a board.
Marking out a simple joint
Putting these habits together, marking a cross-halving joint where two rails cross might go like this. Mark face and edge on both pieces. Lay one rail across the other in position and knife the width of the top rail directly onto the bottom one, rather than measuring it. Square those knife lines across the face and down both edges with the square's stock always on the marked face or edge. Set a marking gauge to half the rail thickness, from the marked face, and gauge the depth between the lines on both edges. Repeat on the other rail with the gauge left at the same setting. Mark the waste with a cross. Every dimension came from the parts themselves or from a single gauge setting, so the joint fits even if the rails are not exactly the thickness the plan says.
Good light, sharp edges
A fine line is only useful if you can see it. A low, raking light across the bench makes knife lines and pencil marks far more visible; our planning guide covers workshop lighting. A marking knife also needs sharpening like any other edge tool; see the sharpening guide. And if you are building a kit from scratch, the measuring tools listed in our essential hand tools guide are the ones to buy first.